


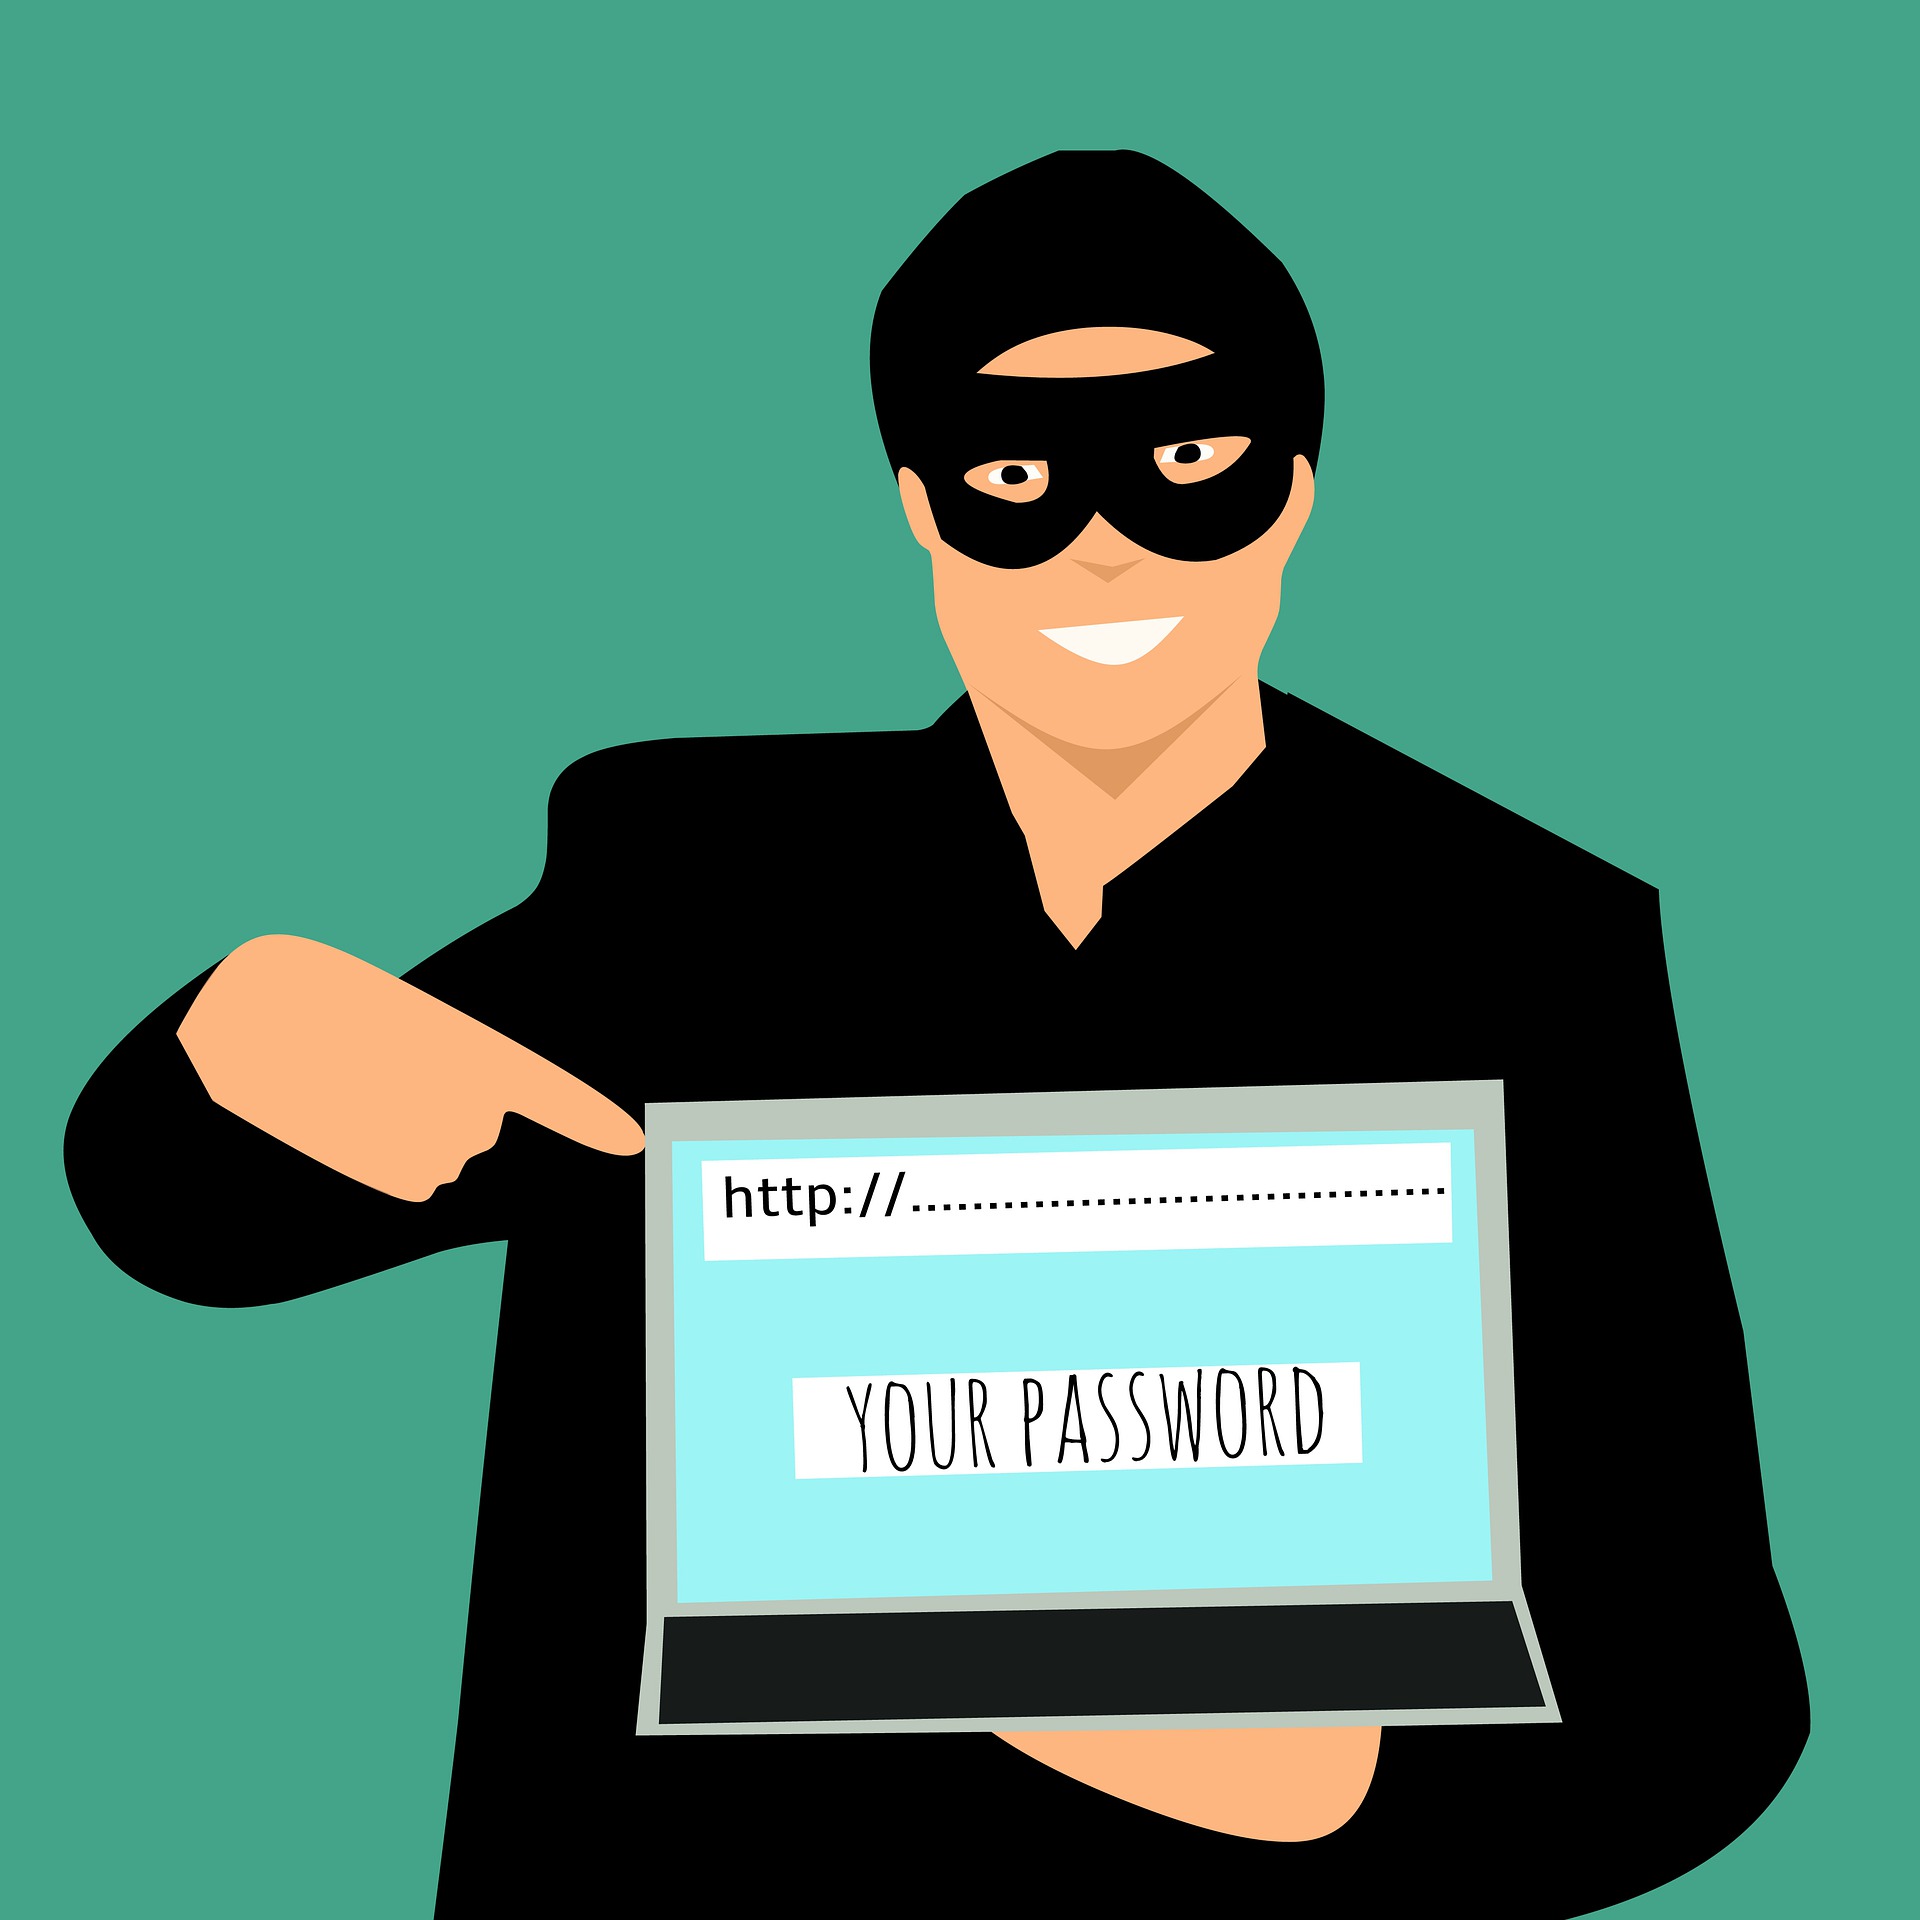
I do not think our blog is of any competition to anyone. We do not even have a business around our blog. Yet there have been a few malicious attempts to break the website. You might have already read about one of the attacks and how we solved the issue in one of our previous articles.
In this article, I am listing a few measures to protect a blog from security breaches. I am not providing a list of security plugins here. Security plugins will provide an additional layer of security. The following strategies are sometimes ignored but should be used as basic security measures.
Setup two-factor authentication to access the hosting site
A two-factor authentication is a website security measure in which, after you enter your username and password, the system performs another level of verification. You do that another level of verification by entering a code that the system sends you instantly via text message or email. Google calls such authentication a 2-Step Verification.
You might be already familiar with two-factor authentication. Most bank websites, organizational websites, and universities are encouraging to use two-factor authentications.
Most hosting providers offer two-factor authentication nowadays. Leverage the two-factor authentications for better security of your blog. I am talking about two-factor authentication for your hosting account, such as BlueHost, SiteGround, GoDaddy, or whatever hosting site you are using.
Disable creation of membership/subscriber accounts by visitors
If your blog is not membership-intensive, it is better to disable subscriber registrations. The reason why I prefer disabling subscriber or member accounts is as follows — I found suspicious accounts with questionable links in many of the profile pages of the subscribers on our site when I allowed member/subscriber accounts.
How to disable creations of accounts by others
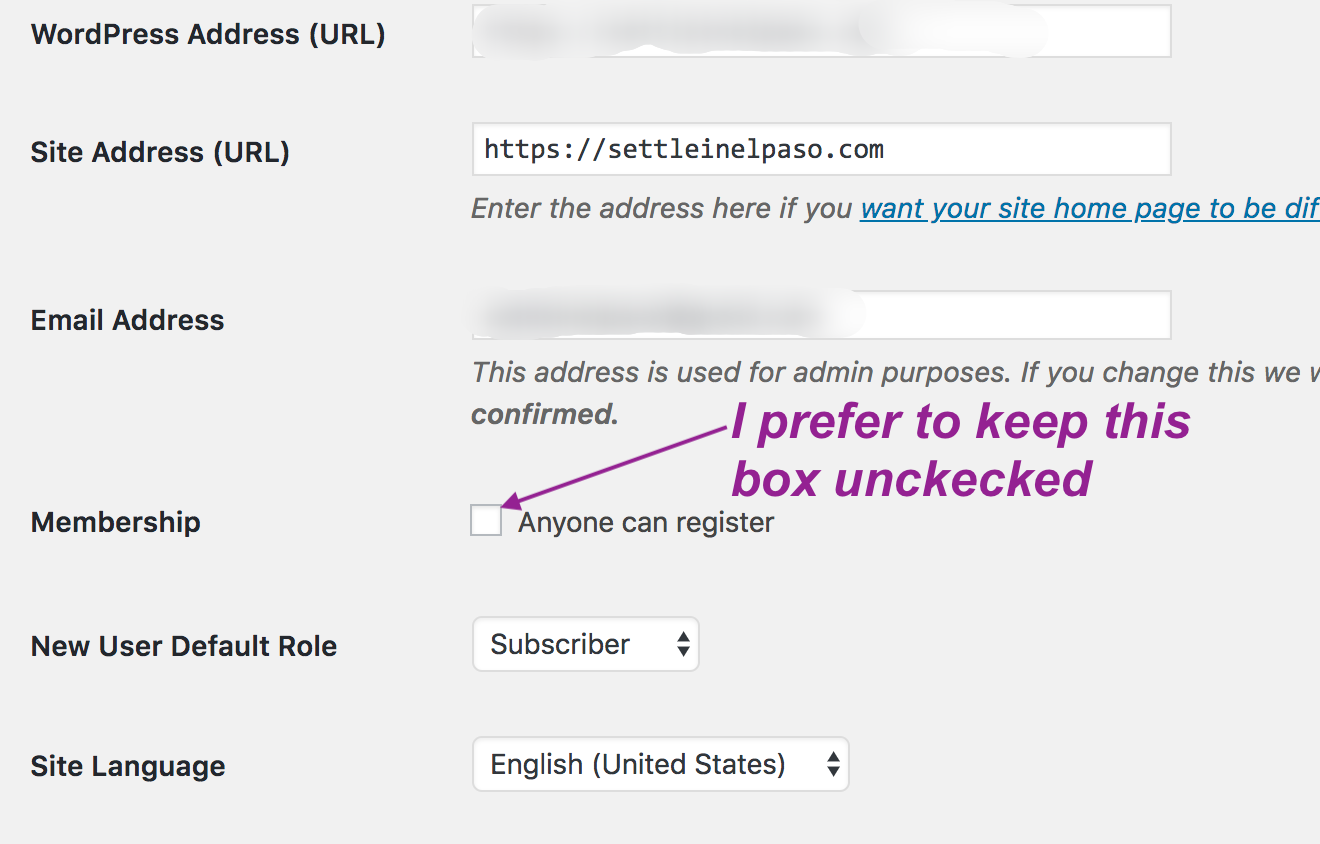
Go to your site’s WordPress admin panel (I am talking about the WordPress dashboard within your blog site, not the hosting site). Go to Settings → General → find the “Membership” checkbox. I prefer to keep the “Anyone can register” box unchecked. Unchecking the box will prevent visitors from creating accounts and profiles, even if it is just a subscriber account.
How to take control of subscriber account creation
Note that unchecking the “Anyone can register” box will prohibit others from creating accounts themselves. You can still collect the email address and create accounts manually.
Also, you can use email subscription plugins for newsletters. You can use Mailchimp-like tools or a Email Subscribers and Newsletters plugin, instead of site memberships.
When is disabling creation of accounts is not an option for you?
Disallowing user-created profiles is not an option for you if your site is forum-based or resource-based, and if you have a huge amount of visitors sending you emails every day for accounts.
We do not need a members-only-area yet for our blog. Therefore, we are just using the Email Subscribers and Newsletters plugin to manage the list of email subscribers. Based on what I see, most personal or family blogs like ours might not need member-areas.
Get domain privacy
By default, when you create a website, you do not have privacy unless you explicitly purchase Domain Privacy. Let us consider a hypothetical domain named http://example.com/. Without domain privacy, information about the owner of a website — such as a name, address, phone number, email address — will remain public.
Someone might say, “So what? I do not have anything to hide.” Actually, it is not about having something to hide. If your phone number and email address are exposed, unexpected calls and messages will increase. Additionally, we do not want someone to knock on the door one day and greet us and say, “I like your articles,” or maybe, “I do not agree with what you write on your blog and that’s why I decided to pay you a visit.” You have got the picture. Domain privacy can be related to physical security.
Another reason why not having domain privacy might be a security risk is — the more personal information you keep out in the wild the easier it is for an imposter to call the hosting provider and get access. We never know what stories an imposter will use to hack a site.
In a previous article, we explained how information of the domain-owner becomes public and how to protect privacy.
Please talk to your hosting provider if you decide to make your domain information private. It takes $10 to $15 per year to make your domain private.
Learn about files and file access permissions
All your blog files are placed on a server computer managed by your hosting provider. Whether your files will be editable or viewable or executable by the public is completely up to you.
Learn about which WordPress file does what. Visit your hosting site and verify the access permissions of the files. Make sure the files have the right access permissions.
You might be surprised to find that some files are unnecessarily exposed by default. index.php and wp-config.php are two examples. I change the access permissions of index.php and wp-config.php to 0400, which is a more secure one than what the default WordPress setting provides.
To learn more on how to secure your blog files on the server, visit this page: How to Increase Security of your Blog Files on the Hosting Site.
Backup your files and database regularly
Create backups of your site regularly. Different hosting companies provide different ways for backups. Some may have backup tools with cPanel. A few hosting providers may automatically create backups at regular intervals. Some may charge extra for an add-on to automatically backup.
Become familiar with the backup program of your hosting site. Whatever backup tool you use, make sure to backup both files and the database that WordPress uses.
Create backups each month if doing it each week is difficult. Save the backups in compressed zip or tar format. Hopefully, you will never have to use the backups.
Change to https if you have http now
If your blog is running under http right now, consider changing to https. Converting to https was surprisingly easy for me. I did it over a chat with a representative of my hosting provider. He just took a few minutes to do it. It was completely free. Modern hosting companies generally provide free SSL to make your site https. They do it for you as a courtesy.
How does https make your blog more secure?
When visitors (including you) browse your website, data is transferred between the computer of the visitor and the server.
Https encrypts the data but http does not. Encryption means speaking in code language. Only the two communicating computers understand what they are sending and receiving; the rest of the world does not. Http does not encrypt. As a result https communications are more secure than http communications.
An example: When you type your username and password to visit the dashboard of your WordPress site, you do not want the password to be seen by anyone in the path from your computer and the server. By encrypting, https secures all the communications so that anyone stealing information on the way cannot make sense of it.
What to do after moving to https from http
After changing your http site to https, make sure to redirect your http links to https links. This can be accomplished in one of the two ways: (1) via the .htaccess file, and (2) via a redirection plugin.
Really Simple SSL is a popular plugin to manage SSL on your own if your hosting provider asks for additional charges for https and if you want to avoid those charges.
On your WordPress dashboard, please go to Settings → General. Change the website address in each of the fields “WordPress Address (URL)” and “Site Address (URL)”. To make the changes, just replace the letters http of the URLs with https.
If you use Google Search Console and Google Analytics, you need to make sure that you make changes in those accounts. Google recognizes http and https as two different sites. Since you now have driven all your traffic to https, you will need to change Google Analytics and Google Search Console entries for the new https website.
Overall, moving to https from http requires a little bit of work but completely worth it in terms of security. Moreover, the ugly “Not Secure” message for http websites on Chrome browser makes people a bit nervous. Eventually, all sites will move to https today or tomorrow — so, why delay the process?
Concluding remarks about website security
Protecting a website from security breaches is an important part of blogging. Unfortunately, website security is considered “too technical” and most of the times ignored. Eventually, as bloggers, we will have to become more familiar with the security of our blogs. Why? Technology and the security-threats evolve over time. We might be able to get professional help now at a reasonable service charge. However, in a few years, we might not be able to hire professionals to do our work because their service will become more expensive. It is better to start learning about basic security from now before it goes out of control.
Please let us know if you have questions or comments via the Comments section below. Have a wonderful week!
From a Family Blog: Settle in El Paso
Other posts related to blogging


Subscribe to receive notifications on our new posts.
Great source of information
Glad to know that you liked the post! Thank you for visiting and commenting.
Great post! I just launched my self hosted WP and installed a plugin to secure my site ? Can you believe how many forced attemps a website has every day?
Thank you for sharing!
– Venus
Blueberry Creative Designs
Thank you for stopping by. I am not sure how many attempts there might be. Probably a few — four or five attempts each day?
Please let us know which plugin you are using. The information will be useful to many people.
Thank you for your comment and the kind words.
You are spot on! In the week and days that my site is live I got 18 so far, thats’ scary!There are many plugins that could help you with that depending on what you need. I am going to check and I’ll comfirm tomorrow the one that I am using ?
Have a lovely day! It is great to discover another great blog each day! ?
? That is really scary.
You have a wonderful blog! Hoping to visit your blog time to time.
Thank you for your lovely comment! ⭐
Such good information. Thanks a lot for sharing. I’m headed back to my site to see what I have that’s exposed.
I am glad to see your comment. Thank you for letting us know that the article is informative. Have a wonderful week.