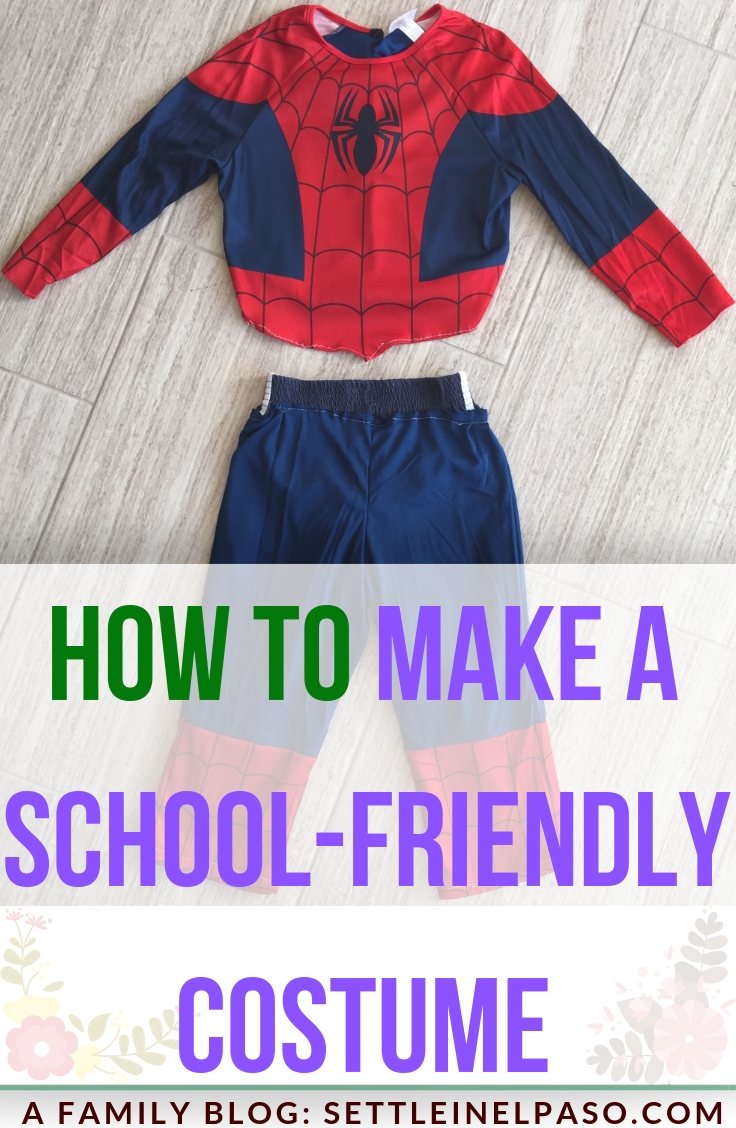
I, Dear Dad, was planning on Dear Son’s halloween costume. I always have smart plans (please read as easy plans). Yes, I like to keep life simple. 🙂 The plan was to take Dear Son to a costume shop and ask which costume he liked the most. Didn’t I say I always have smart plans? Dear Wife was saying that halloween costume needs better planning than this and definitely more creativity is required. “No worries; leave the costume to me this year. Creativity is my middle name”, this is what I said.
Did we ever mention in this blog that Dear Son is not familiar with any super heroes? He might have heard of one or two from his friends in the daycare but in reality he does not know what superpowers super heroes posses. Dear Son has not yet learnt how to copycat the gesture of a superhero. His heroes do not have much physical strength and generally come from his story and picture books, for example — Curious George, Dory, Llama Llama, Harold, so and so forth. None of them have much power, let alone superpower. Anyway, let us get back to the halloween costume.
We went to Party City at the Sunland Towne Centre (655 Sunland Park Dr.) in the Westside of El Paso. Party City has a large collection of costumes. There is a row with pictures of the costumes. One can select a costume and collect a ticket from a sales representative and then follow some green footprints, probably of Incredible Hulk’s, to head toward the inventory to pick up the costume. There are some fitting rooms near the inventory area.
I asked Dear Son the million dollar question, “which costume do you want”? He said, “I do not want any costume”. Clearly, Dear Son would need help. I asked him if he would like the costume of a policeman pointing at a picture. No interest. 🙁 Then I pointed at an FBI agent with a badge, a doctor, a fireman, and a pirate, with no luck. Dear Son whispered Itsy Bitsy Spiderman. He was staring at Spiderman. He is familiar with the song Itsy Bitsy Spider and he heard about Spiderman from his friends. To him, Spiderman is the person with eerie eyes who wears Itsy Bitsy Spider on a blue-red dress. Spiderman, here we come. It was not too hard. Dear Son did not allow a trial in the fitting room but it was a clear fit based on the height of the costume. It was the only available Spiderman costume for his age-group. It is a costume that has the legs and the top-part joined together. I was happy that Dear Son picked up something by himself.
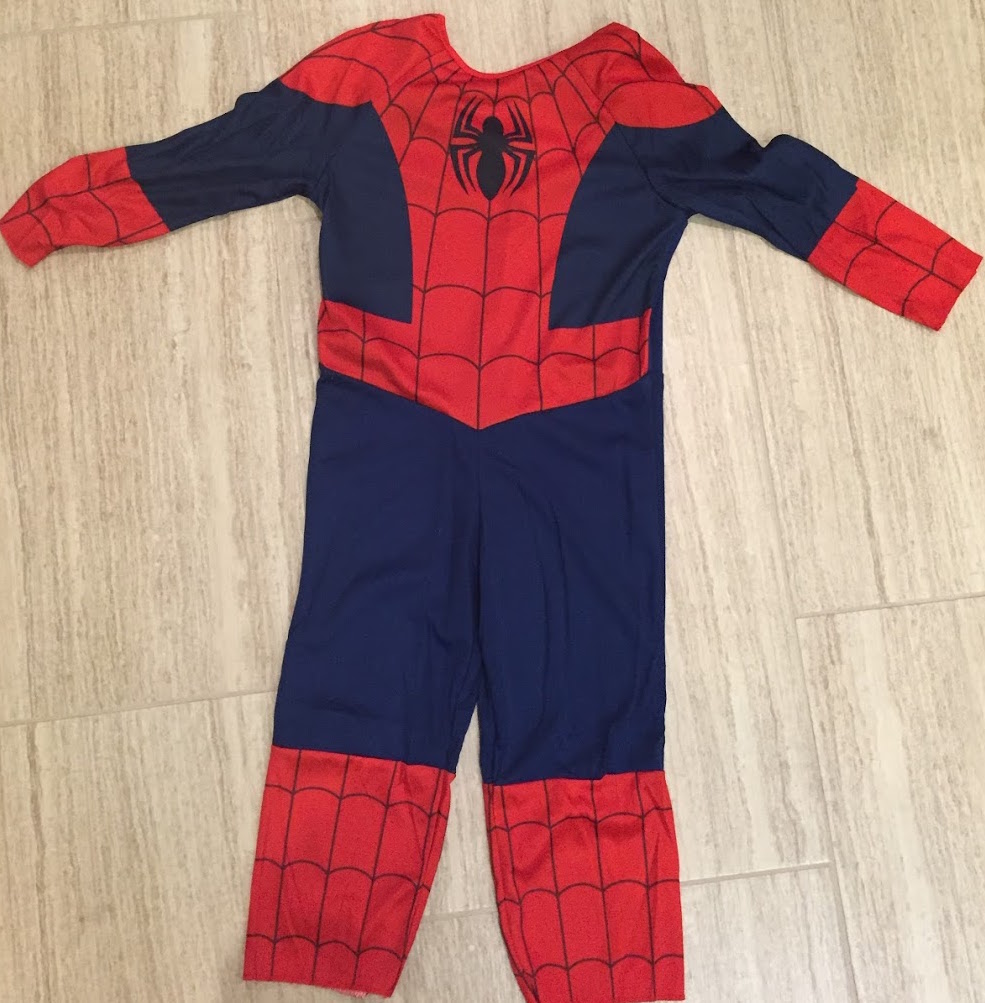
On our way back home, I started to use my brain cells. The daycare asked all the kids to wear a costume on the Halloween day. How will Dear Son use the bathroom if he wears this costume? Given that it is hard for a four-year-old to put on and take off a costume that combines pants and shirt, the teacher would need to assist Dear Son to pee or poop every time he goes to the toilet. Oops… There is no going back because this is the only Spiderman costume available. Of course, we can try other shops for other costumes but a DIY-idea came to my mind that I would like to try first. The idea is to separate the top and the bottom parts of the costume.
Good thing is that we bought a sewing machine a few months ago. I have used the sewing machine a few times — I have become a novice tailor. 🙂
Separating the top of Spiderman from the bottom
This was one of the hardest tasks in this project, especially because this is the starting. The burning question in mind is, am I going to damage the costume? Duh.. separating the top from the bottom of a costume means damaging it. In my defense, probably yes; I am going to damage it but what to loose here; we still had a few more days to fix errors. 🙂

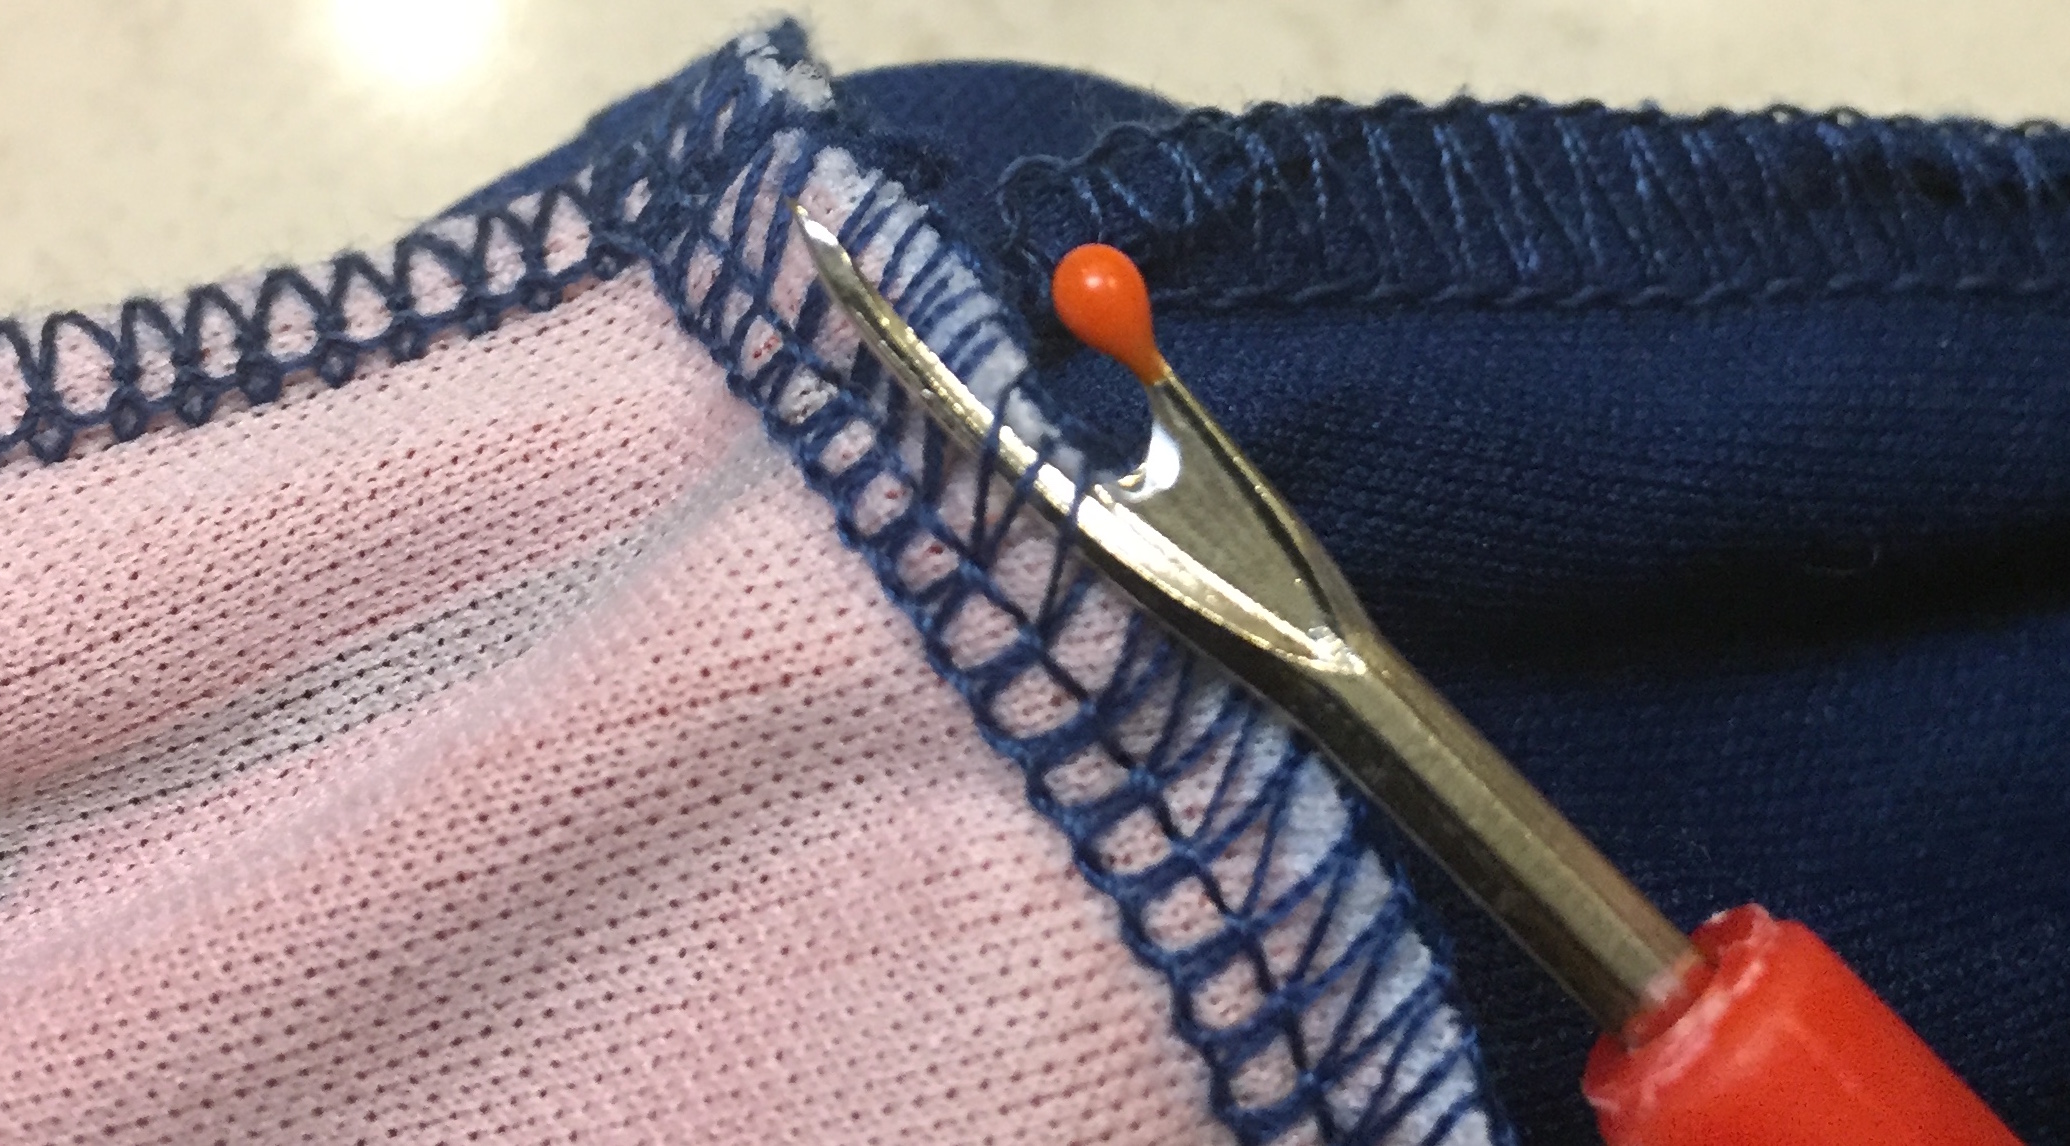
I used a thread-cutter to accomplish the task of separation. I spent around forty minutes on this. Given that I used a thread-cutter only once or twice before to cut no more than an inch or so, forty minutes sounds very promising to me. 🙂 The cloth was delicate and it was elastic, which made the thread-cutting activity a bit problematic. Anyway, the operation of separation was successful. 🙂
Coming up with a usable top
Some sewing is necessary for the top part once it is separated from the costume. The bottom end of the top-part has to be stitched to make sure that threads from the open sides do not come out. It was hard for me to keep the sewing threads aligned with the border while I was using the sewing machine.
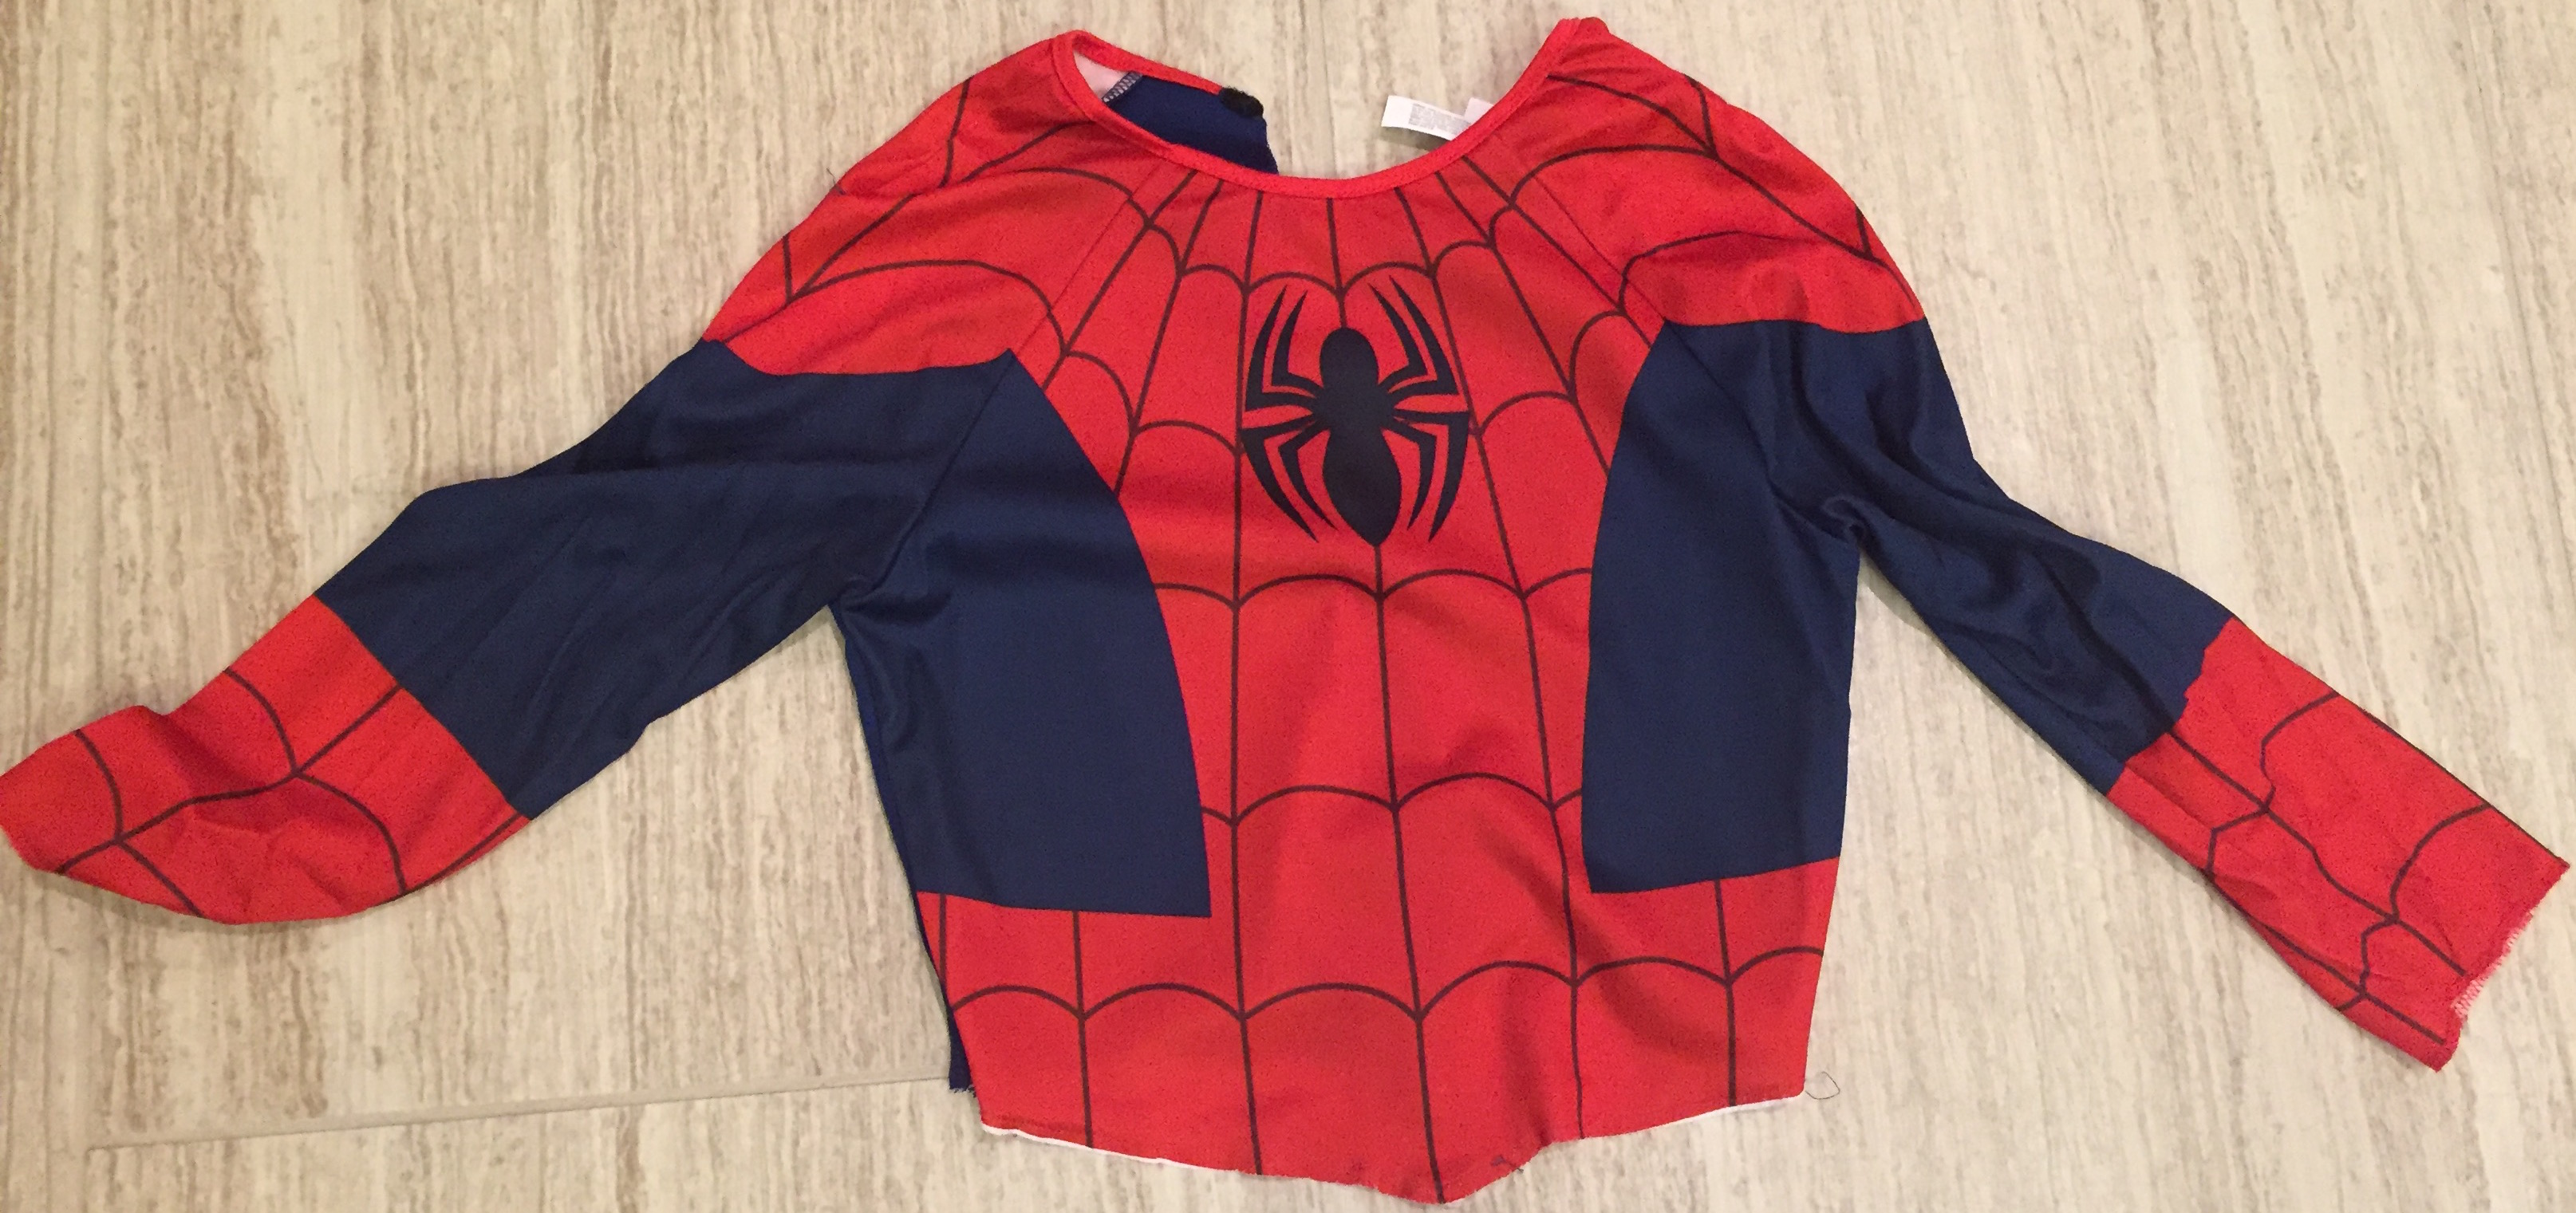
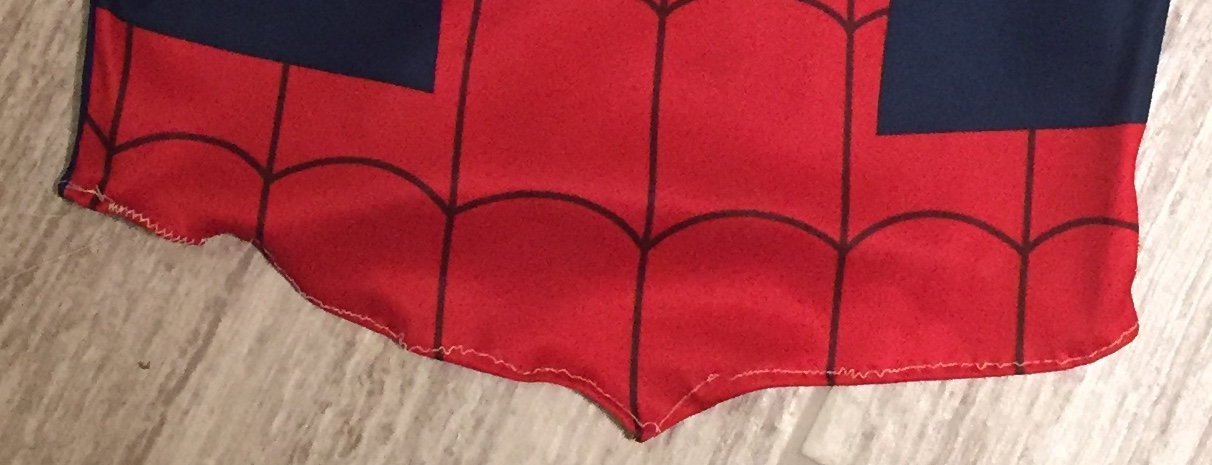
There are different settings in the sewing machine to embroider the sides. I tried to play with a few but finally decided on a simple one. The picture above shows how the sewing at the open end looked like. It was not impressive at all. The white threads were shining and giving me a villain-smile. I should have matched the color of the sewing-thread to reduce the visibility of my naive artwork. 🙂 Anyway, it will do for now.
Coming up with a pair of pants
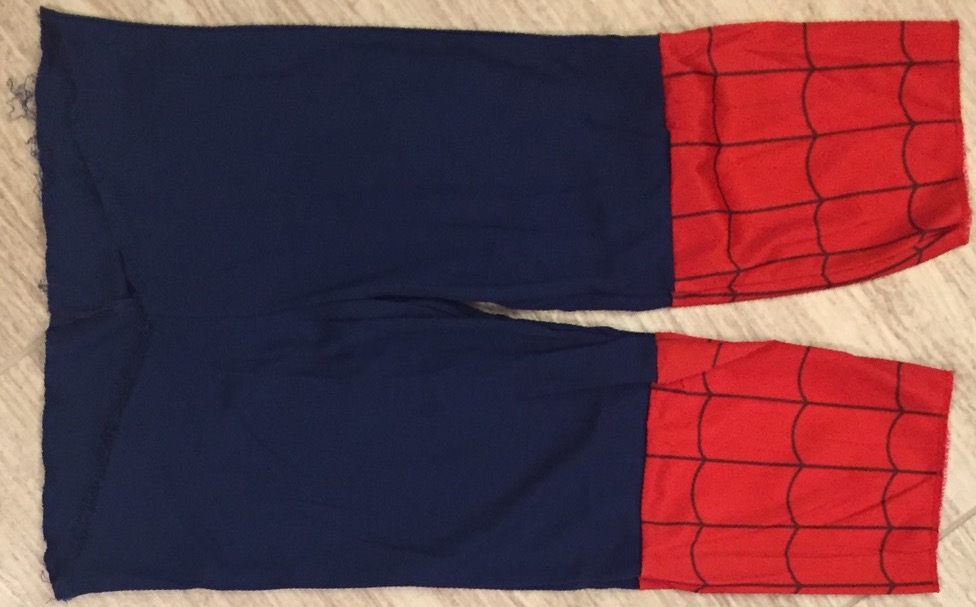
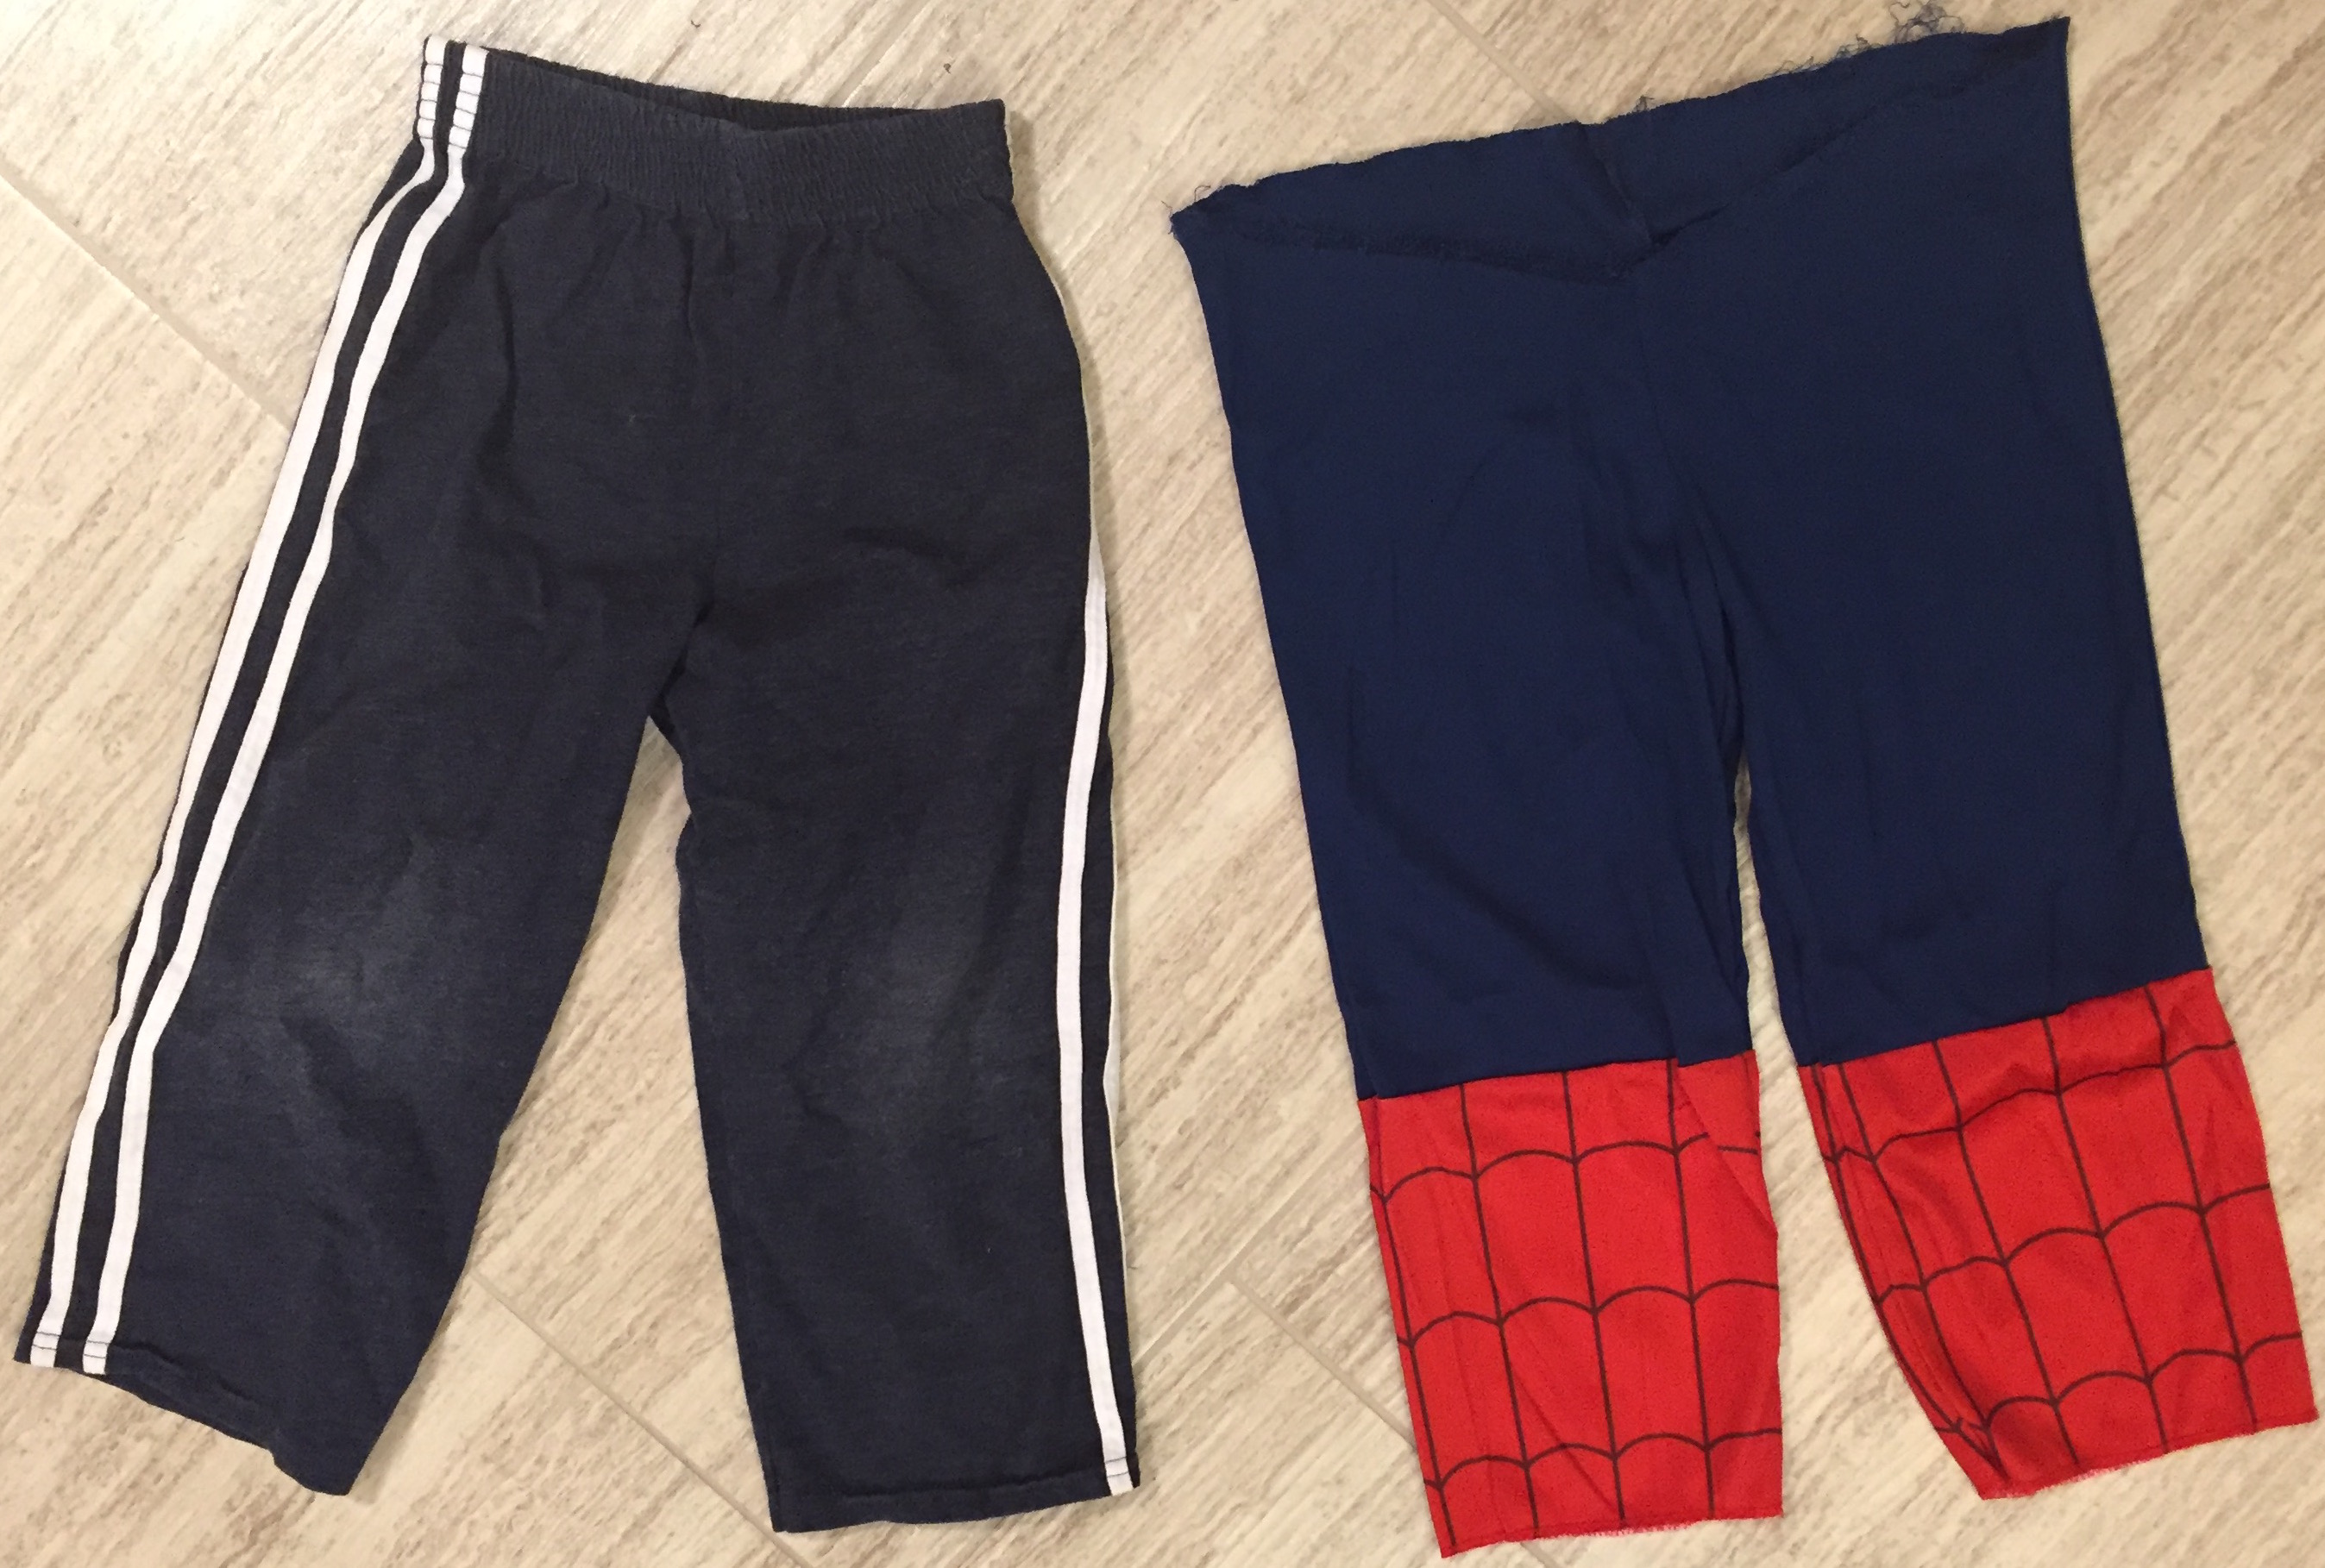
This stage was a little bit more complex than I expected. The bottom part of the costume cannot be directly used as pants because the waist-portion is not prepared to hold onto the body. That means I need to make the waist-part of the pant. I do not have the expertise to do that. Therefore, I decided to use an existing pair of pants to hold the legs of the costume. 🙂 Of course, I used a pair of pants that was already a little bit worn-off. A picture below shows the pants and the bottom part of the costume side by side.
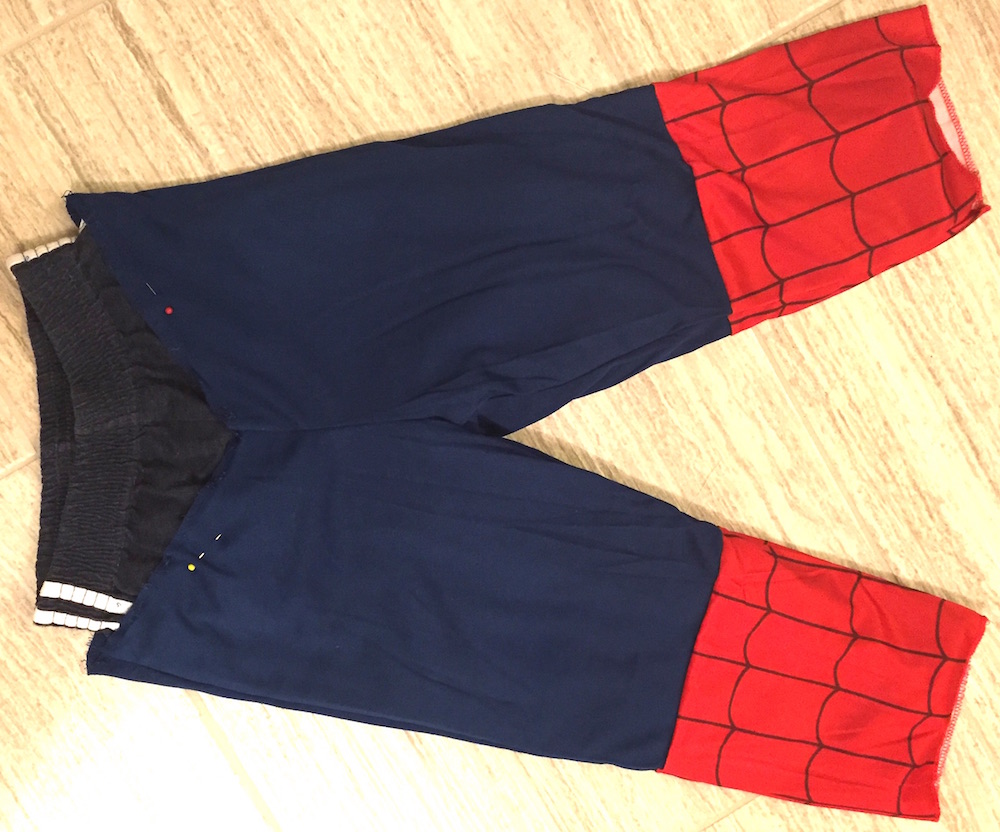
Sewing became a bit easier when I pinned the costume-legs over the pants. The pins hold the costume-cloth well enough to prevents unintentional movements. Sewing continuously around the entire waist to attach the costume to the pants was difficult for me. I sewed in steps of five to six inches. Taking the pants out of the machine and the needle was a hurdle for me because of my lack of experience. I still used short steps because short steps helped me keep the costume aligned with the pants.
The bottom of the legs came out to be alright in terms of sturdiness but the alignment of the threads was horrible. We need a costume that is comfortable for Dear Son to wear in the daycare. The one I made will serve the purpose. The costume was comfortable because it was basically built over his regular pants.

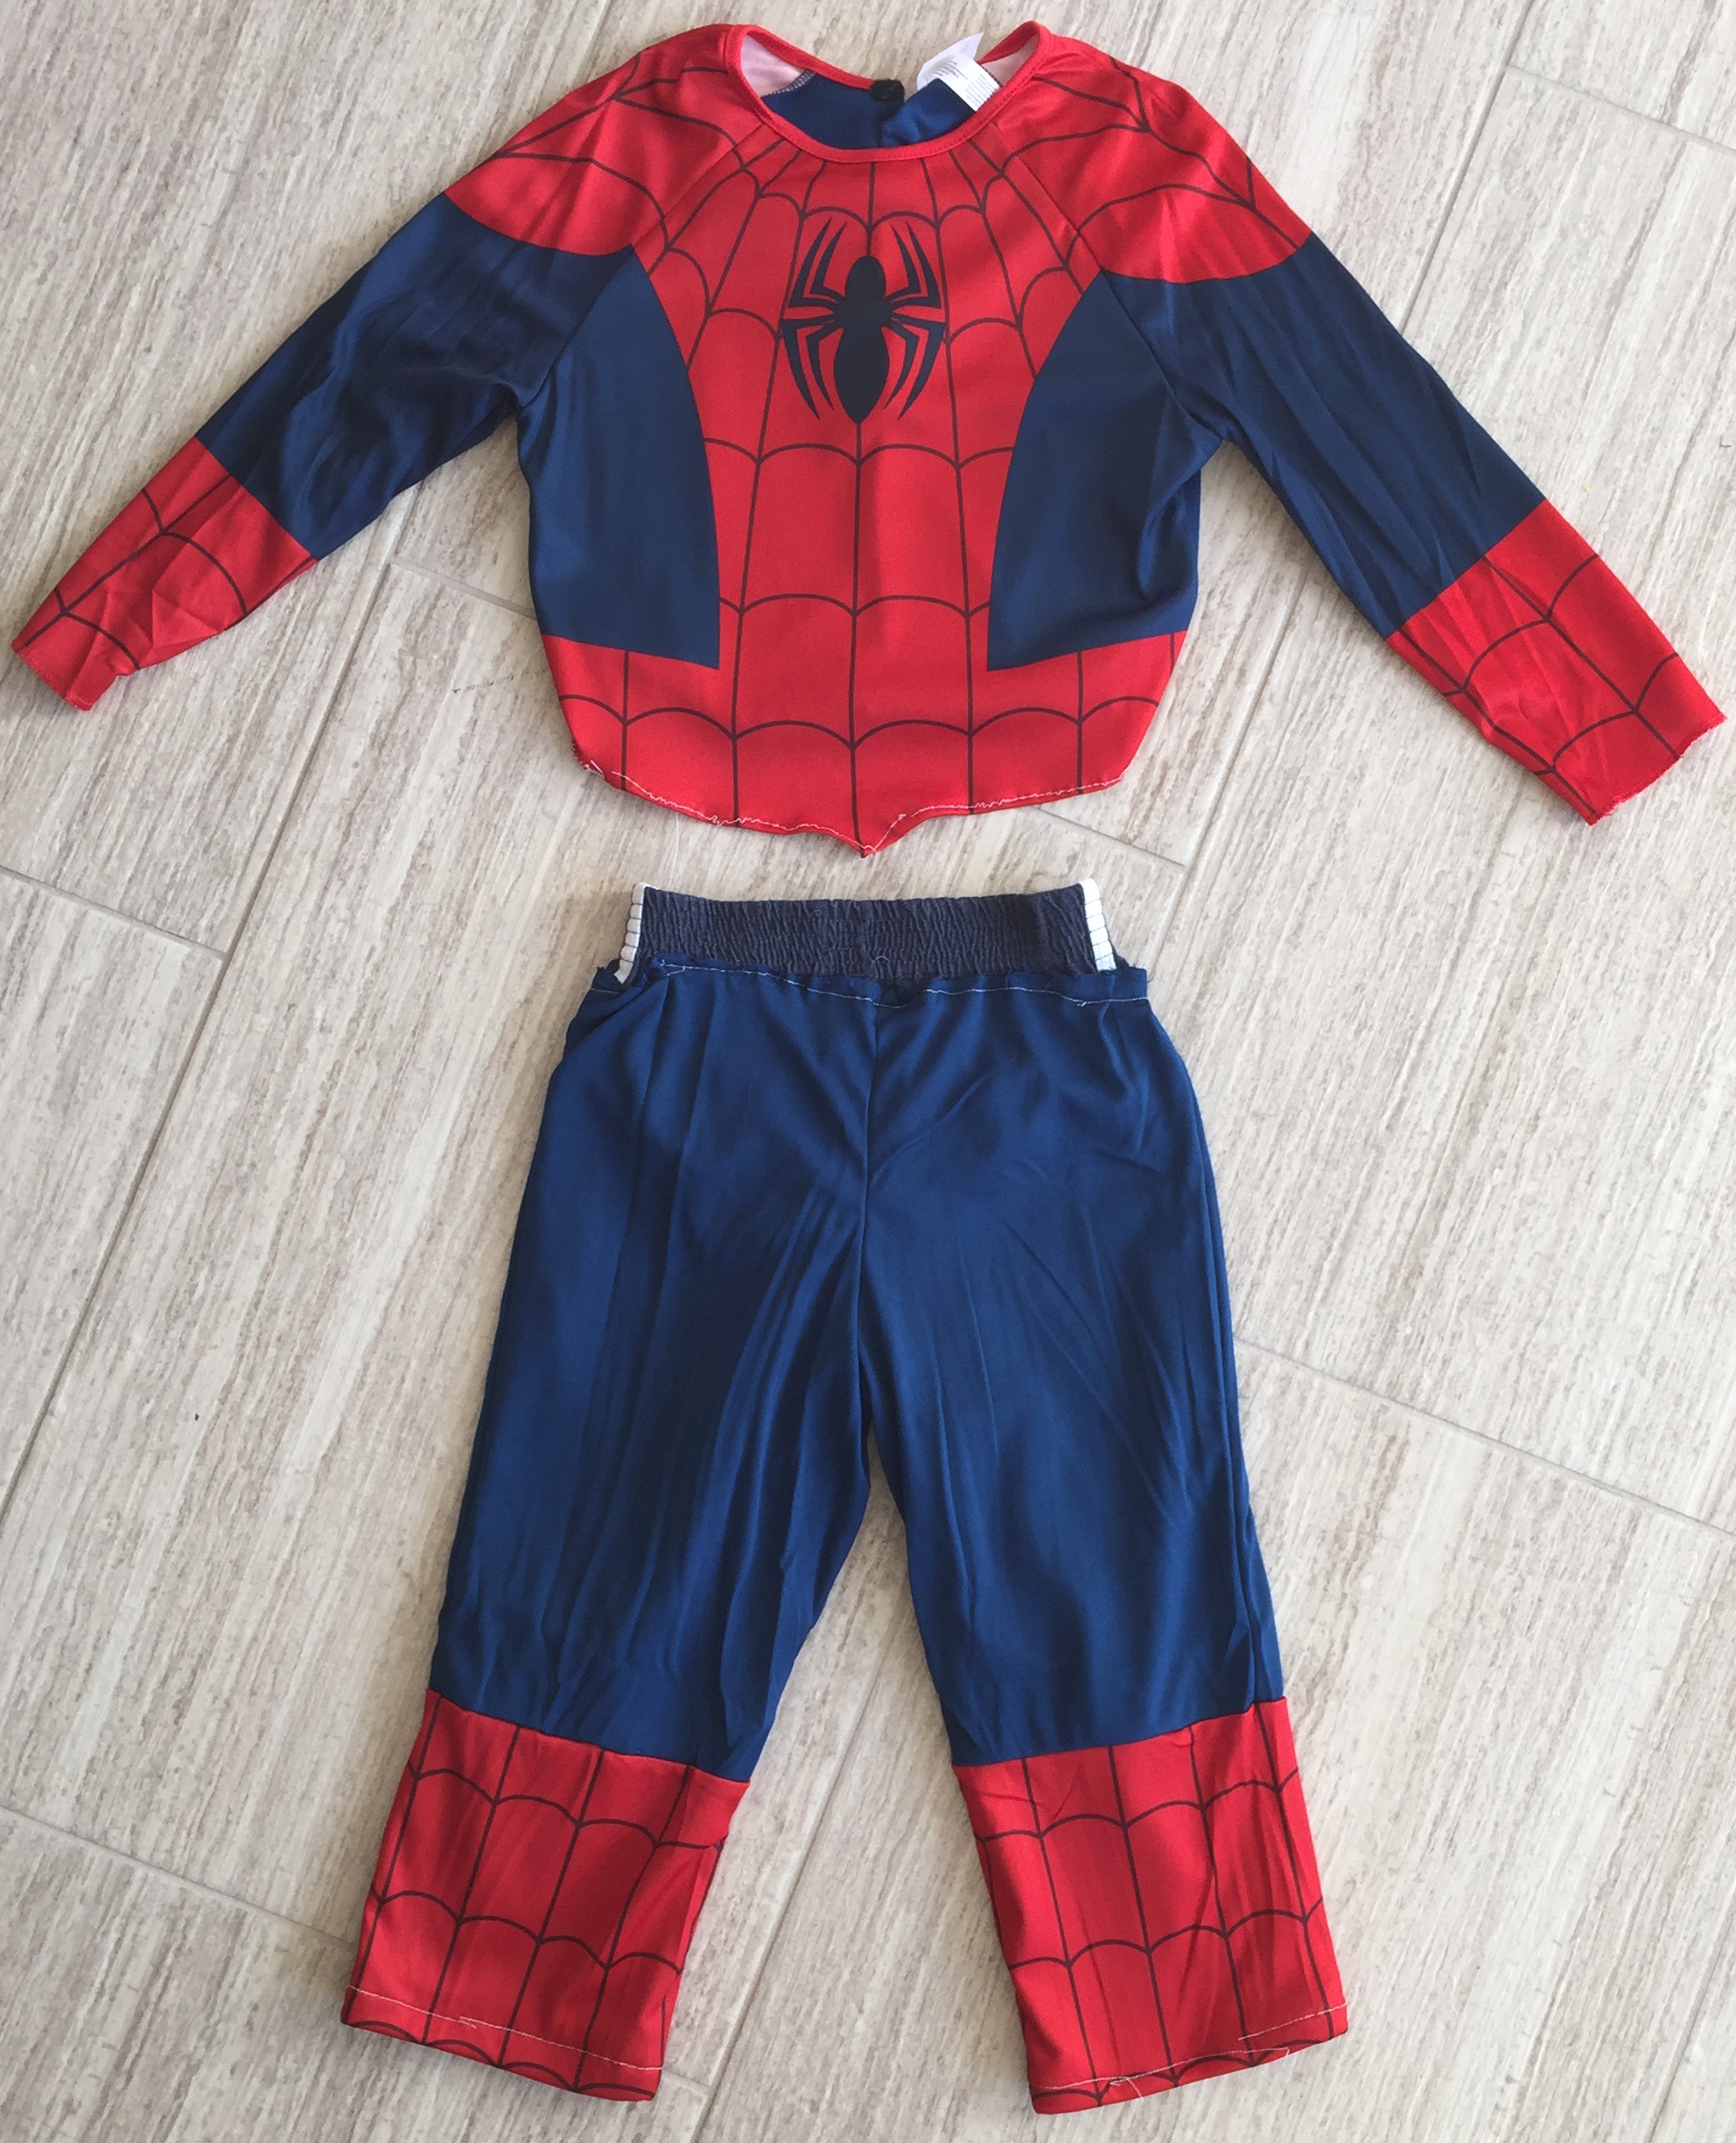
Given that there were two parts in this altered costume, Dear Son was able to pee and poop all by himself in the daycare on the Halloween day. 🙂 That was the objective of this DIY project. Didn’t I say, I always plan simple? Simple is my middle name. 🙂 Ok … I admit — it was not that easy for me. All that matters is — Dear Son was happy. Dear Wife was not that impressed by the final product but she was happy that I gave significant effort on this project. The challenge made me happy.
Settle in El Paso team 🙂
UPDATE: For the Halloween of 2018, we have prepared a list of available school-friendly Spiderman Halloween costumes in the following post: school-friendly Spiderman costumes.


Comments
Facebook Comments